1. 概述
- 申请域名
- 购买VPS
- 环境配置
- 个人网站部署
- 静态网站
- PHP网站
2. 申请域名
域名是IP的别名。一般而言,我们想要访问一个站点,并不会直接输入IP,而是输入域名来访问。例如,想要访问Google站点的话,只需在浏览器的地址栏内输入”www.google.com”即可。
域名需要自行付费申请。一般而言,.com是主流域名,价格稍贵。其他新兴域名,例如.cc等,便宜。申请的服务商也很多,诸如阿里云、Godaddy等。
3. 购买VPS
VPS主要用来存放网站的所有内容,包括代码、素材等。VPS服务商也很多,在国际上比较出名的是Vultr和搬瓦工。本教程利用Vultr上的服务器来搭建个人主页。
Vultr主页上的服务器购买也很简单:注册、充值、选服务。此处选取Centos 6.X作为演示。其中涉及到如何使用SSH登录服务器,请参考vultr的ss服务器教程)。
4. 环境配置
环境:Centos 6.X
4.1 配置Nginx
1)在 CentOS 上,可直接使用 yum 来安装 Nginx
1 | yum install nginx -y |
2)安装完成后,使用 nginx 命令启动 Nginx
1 | nginx |
此时,访问 http://ip 可以看到 Nginx 的测试页面。如果无法访问,请重试用命令重启 Nginx
1 | nginx -s reload |
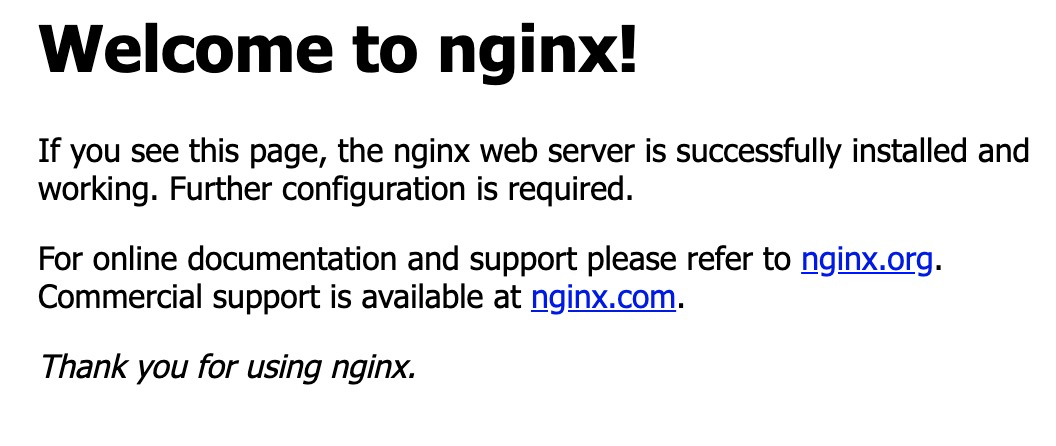
如果出现如下页面,则配置正确:
如果还是无法访问,可能是因为端口没有开放的原因。请按照如下解决方案:
1)本地机器测试nginx是否能正常启动
1 | curl http://ip |
这里的ip地址为你本机的ip地址。
如果出现类似如下结果,证明服务器上nginx配置没问题:
1 | <!DOCTYPE html PUBLIC "-//W3C//DTD XHTML 1.1//EN" "http://www.w3.org/TR/xhtml11/DTD/xhtml11.dtd"> |
2)防火墙、端口开启设置
(1)打开80端口
1 | vi /etc/sysconfig/iptables |
添加:
1 | -A INPUT -p tcp -m state --state NEW -m tcp --dport 80 -j ACCEPT |
(2)重启防火墙
1 | service iptables status |
在进行ip访问,应该能够成功了。
4.2 配置静态服务器访问路径
外网用户访问服务器的 Web 服务由 Nginx 提供,Nginx 需要配置静态资源的路径信息才能通过 url 正确访问到服务器上的静态资源。nginx后发现配置文件只有一个,/etc/nginx/nginx.conf。所有的配置包括虚拟目录也在此文件中配置, 这样当虚拟主机多了管理就有些不方便了。我们把配置文件拆分开来,在/etc/nginx/conf.d/ 文件建立对应的域名配置文件,比如 /etc/nginx/conf.d/123.com.conf。
1)新建配置文件
1 | touch new_file.conf && vi new_file.conf |
2)添加配置
1 | server { |
其中,路径/www/website为你的源文件存放地址。
3)重启Nginx
1 | sudo nginx -s reload |